Oiling a deck is tiring and requires patience
Since we moved into our new home last year, my wife & I have adapted to being in a larger property with more maintenance tasks on our plate. Some jobs have been novel & satisfying, some started out interesting but quickly got boring, and some sucked and continued sucking.
Oiling the deck (which seems to need doing annually) started out being pretty interesting, but has very quickly become a huge chore. I can already see myself dreading next year's attempt.
In my amateur opinion, it takes a full day to oil a typical household deck. The work comprises one 'round' of cleaning using a specific chemical mix, and then two coats of oil to be applied. Each of those tasks requires the deck to be completely dried before moving on to the next step, so there's a fair bit of downtime in the process (but it's still hard work).
In this post I'll share the process I followed, and what I want to improve upon in future attempts.
Equipment needed
I followed this Bunnings article which is a pretty good overview of what is required.
You'll definitely need this equipment to oil your deck:
- a deck oil applicator – i.e. a small wooden broom – with a sock that goes over the end, which is dipped into the oil
- a deck hand bucket – specifically designed to drain excess oil from your applicator
- a paint stirrer, ideally one with a paint can opener on the end
- a sash cutter paint brush – to carefully apply oil to the edges & tricky spots
As for the 'consumables', you'll need:
- deck clean
- deck oil
- good rubber gloves (for protecting your hands from oil splashes)
- masking tape (for protecting your walls and other surfaces from oil splashes)
I found that I use about 6 litres of deck oil for 2 coats, and our deck is roughly 30 sqm (including the deck panels that go up the wall). I'm also able to use a single 1L tub of deck clean for that surface, but the recommendation is to use more.
As for gloves, you may go through one pair for each of the 'stages' (i.e. cleaning plus two oil coats so three total) but you could re-use the same pair throughout the day if you are careful. Better to have spares lying around if you cut a glove open during the process!
What you may not realise before you oil your deck
I won't go through the whole process – you can look through the Bunnings link above for that information – but some tips & tricks I learned were:
- Start early – you'll have to wait several hours throughout the day for the deck to dry, so start on the cleaning process as early as you can. I started the cleaning process at about 7am, and I didn't finish the last coat of oil until about 3pm. It's a long process.
- Check the weather – make sure you've got a sunny day, with no rain forecast for the day of work as well as the day afterwards. You want the best opportunity for the oil to properly dry.
- Cleaning the deck is the most physical part – coating the deck with oil is fairly smooth, but scrubbing the deck clean into the wood requires some actual elbow grease.
- Use more masking tape – if your deck goes right up to a wall or other surface, don't be afraid to put a few 'rows' of masking tape along the wall (just like you'd do if you were painting). Deck oil has a habit of occasionally splashing further than you expect, and you'd be forever glad that you put the extra masking tape down.
- Cut in more than you think – use your sash brush to cut in further than you need to. The applicator works well for larger sections but shouldn't be used to get within 7-8cm of a wall.
How our 2026 oiling ended up
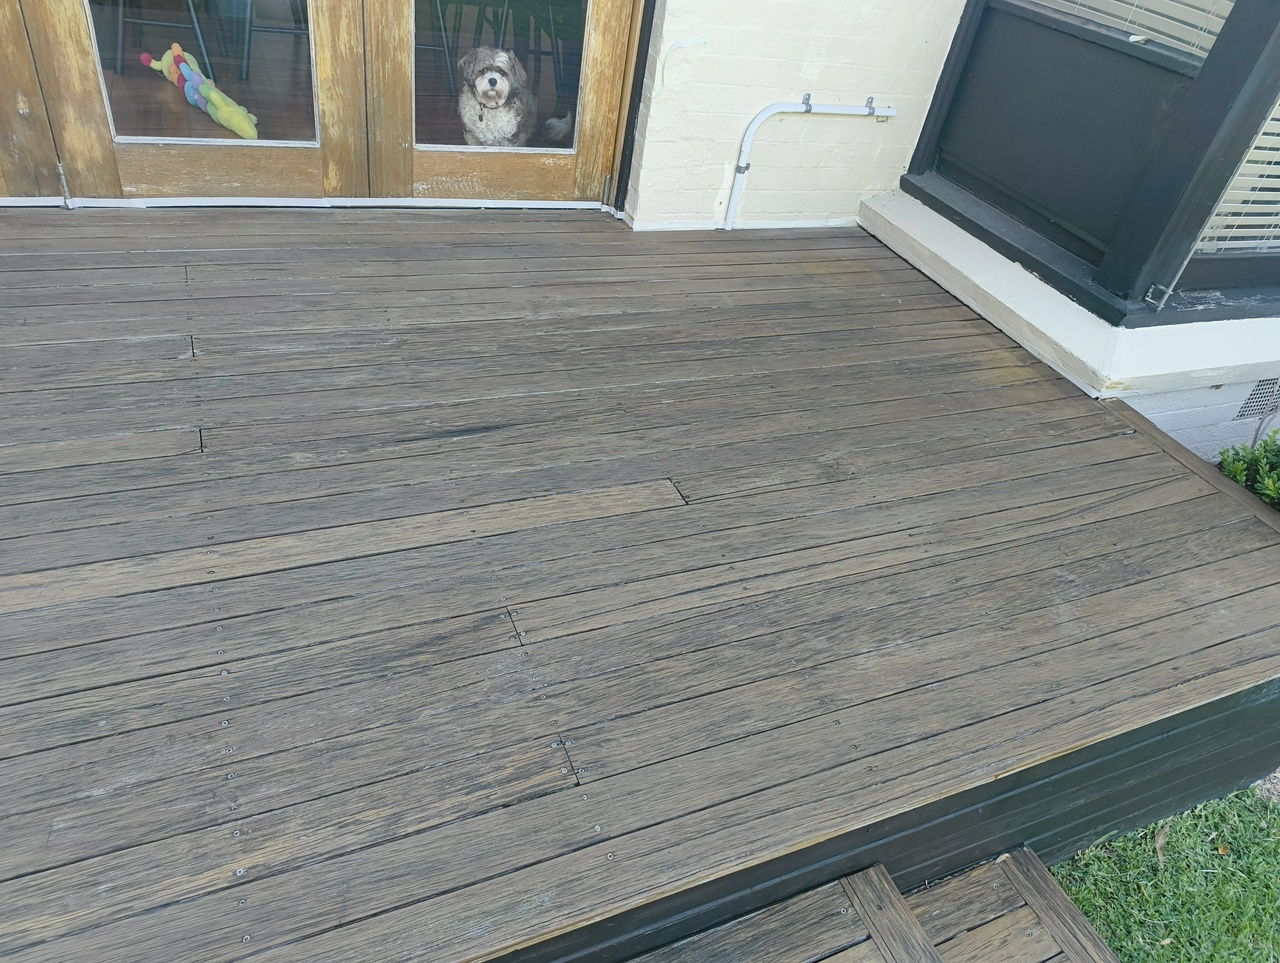
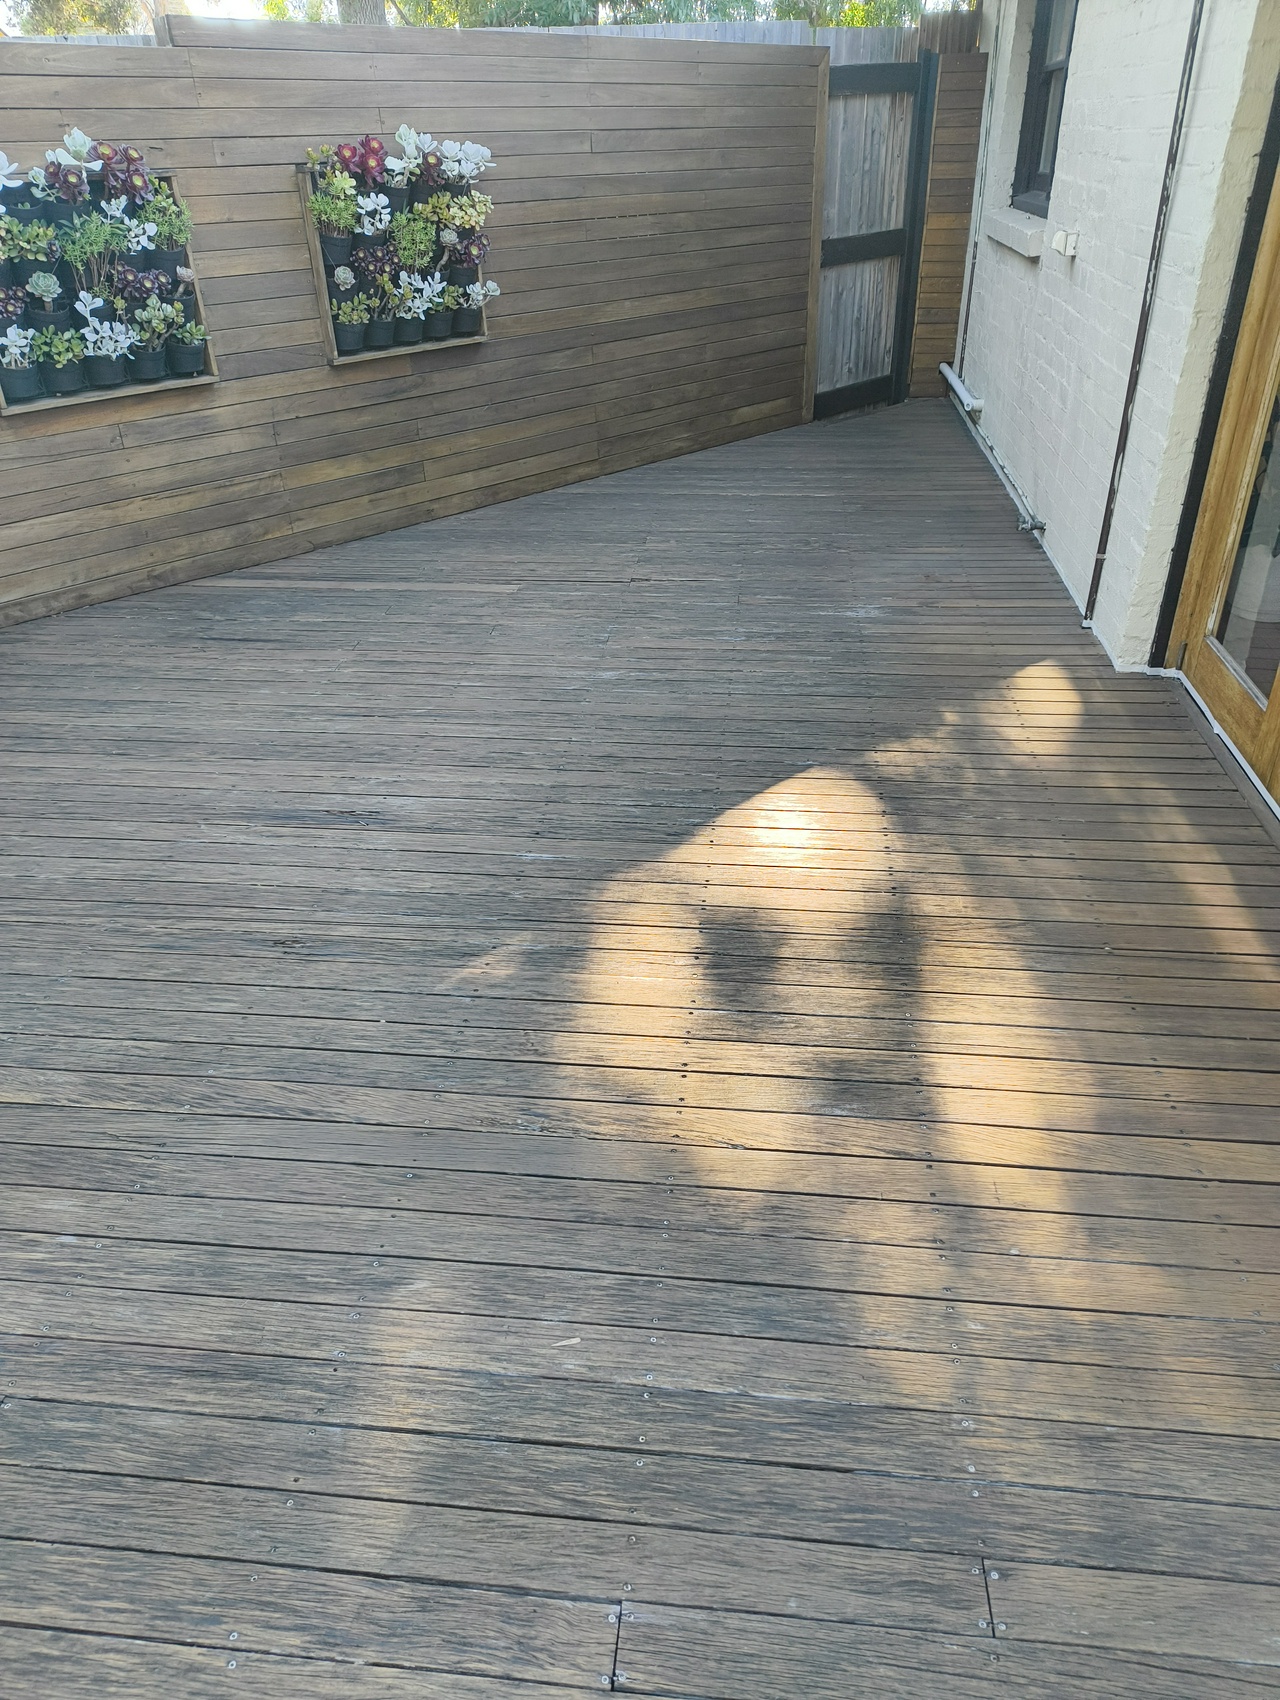
Here are the 'before' photos of our deck (you'll notice our indoor supervisor inspecting the pre-oiling preparation):
And here is the aftermath:
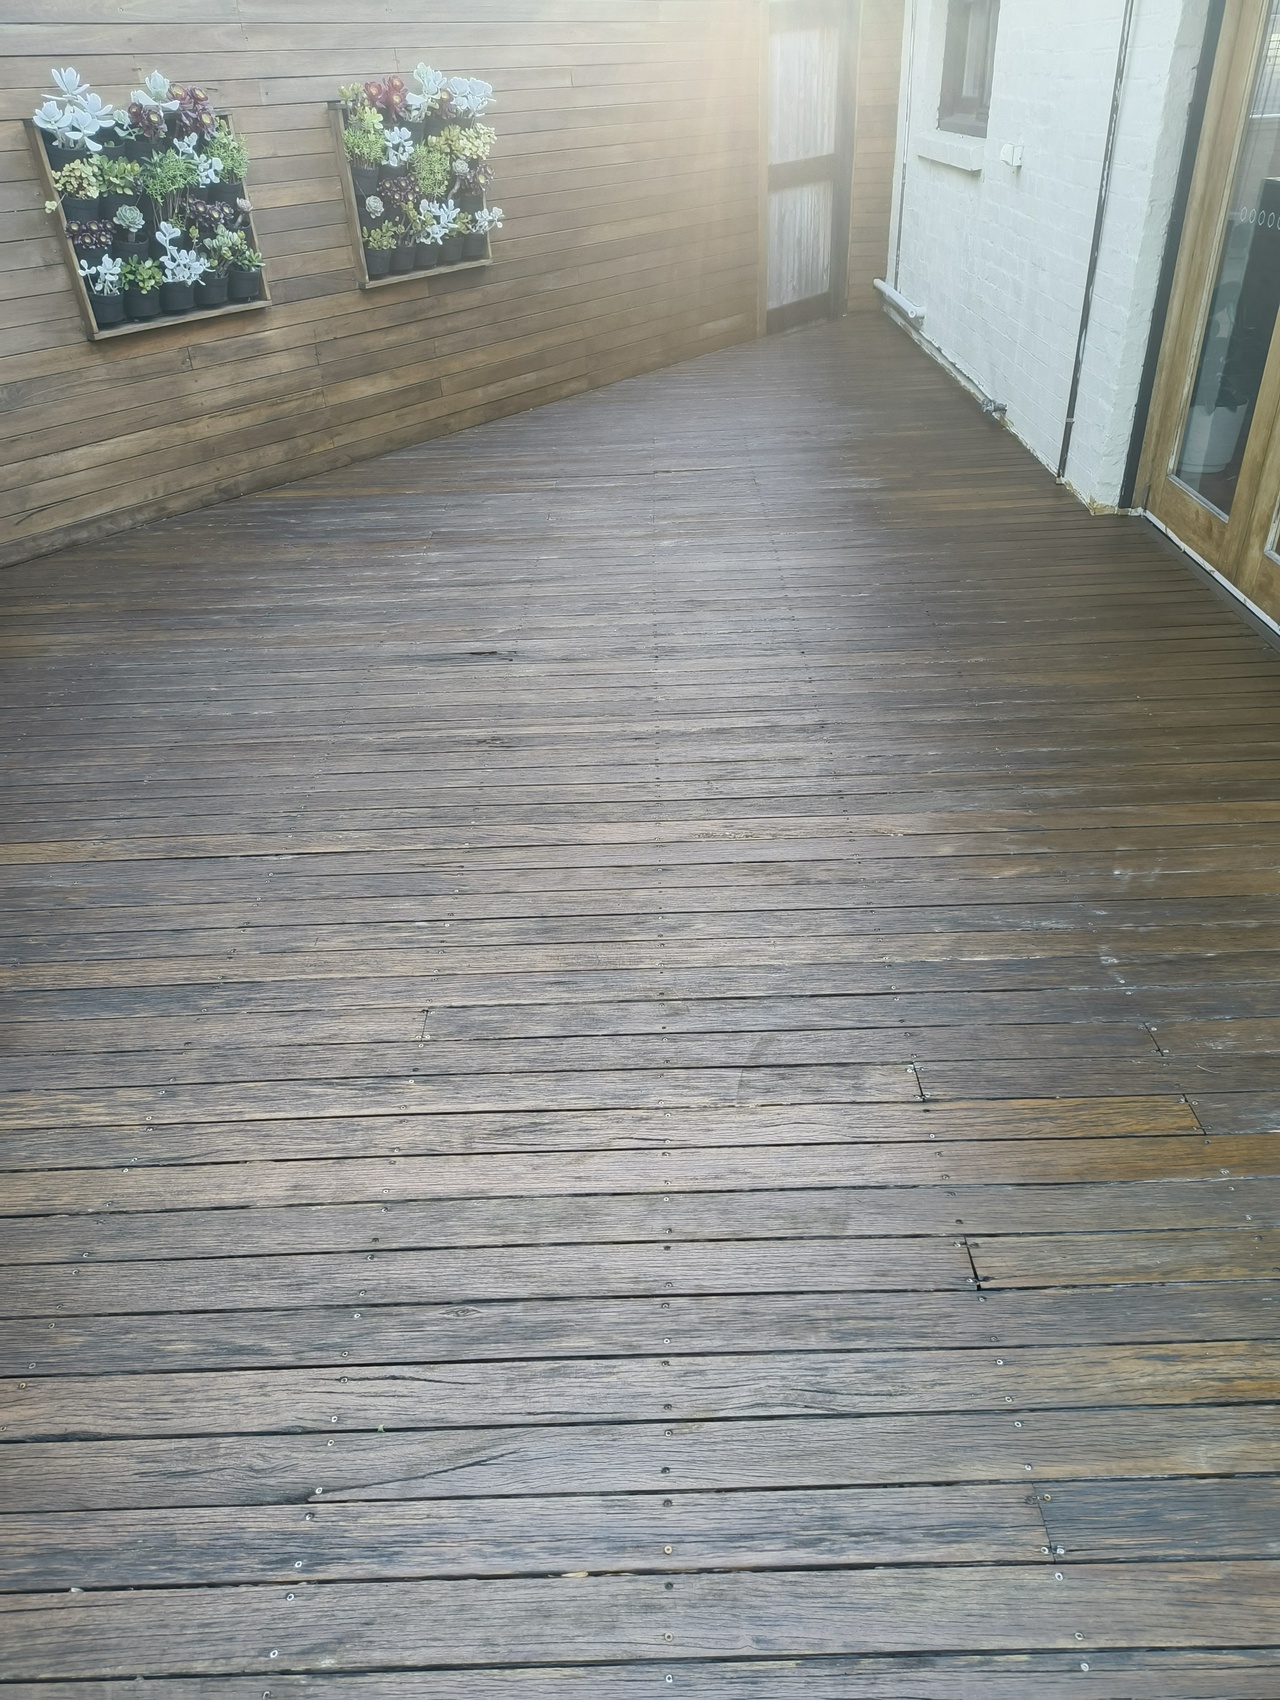
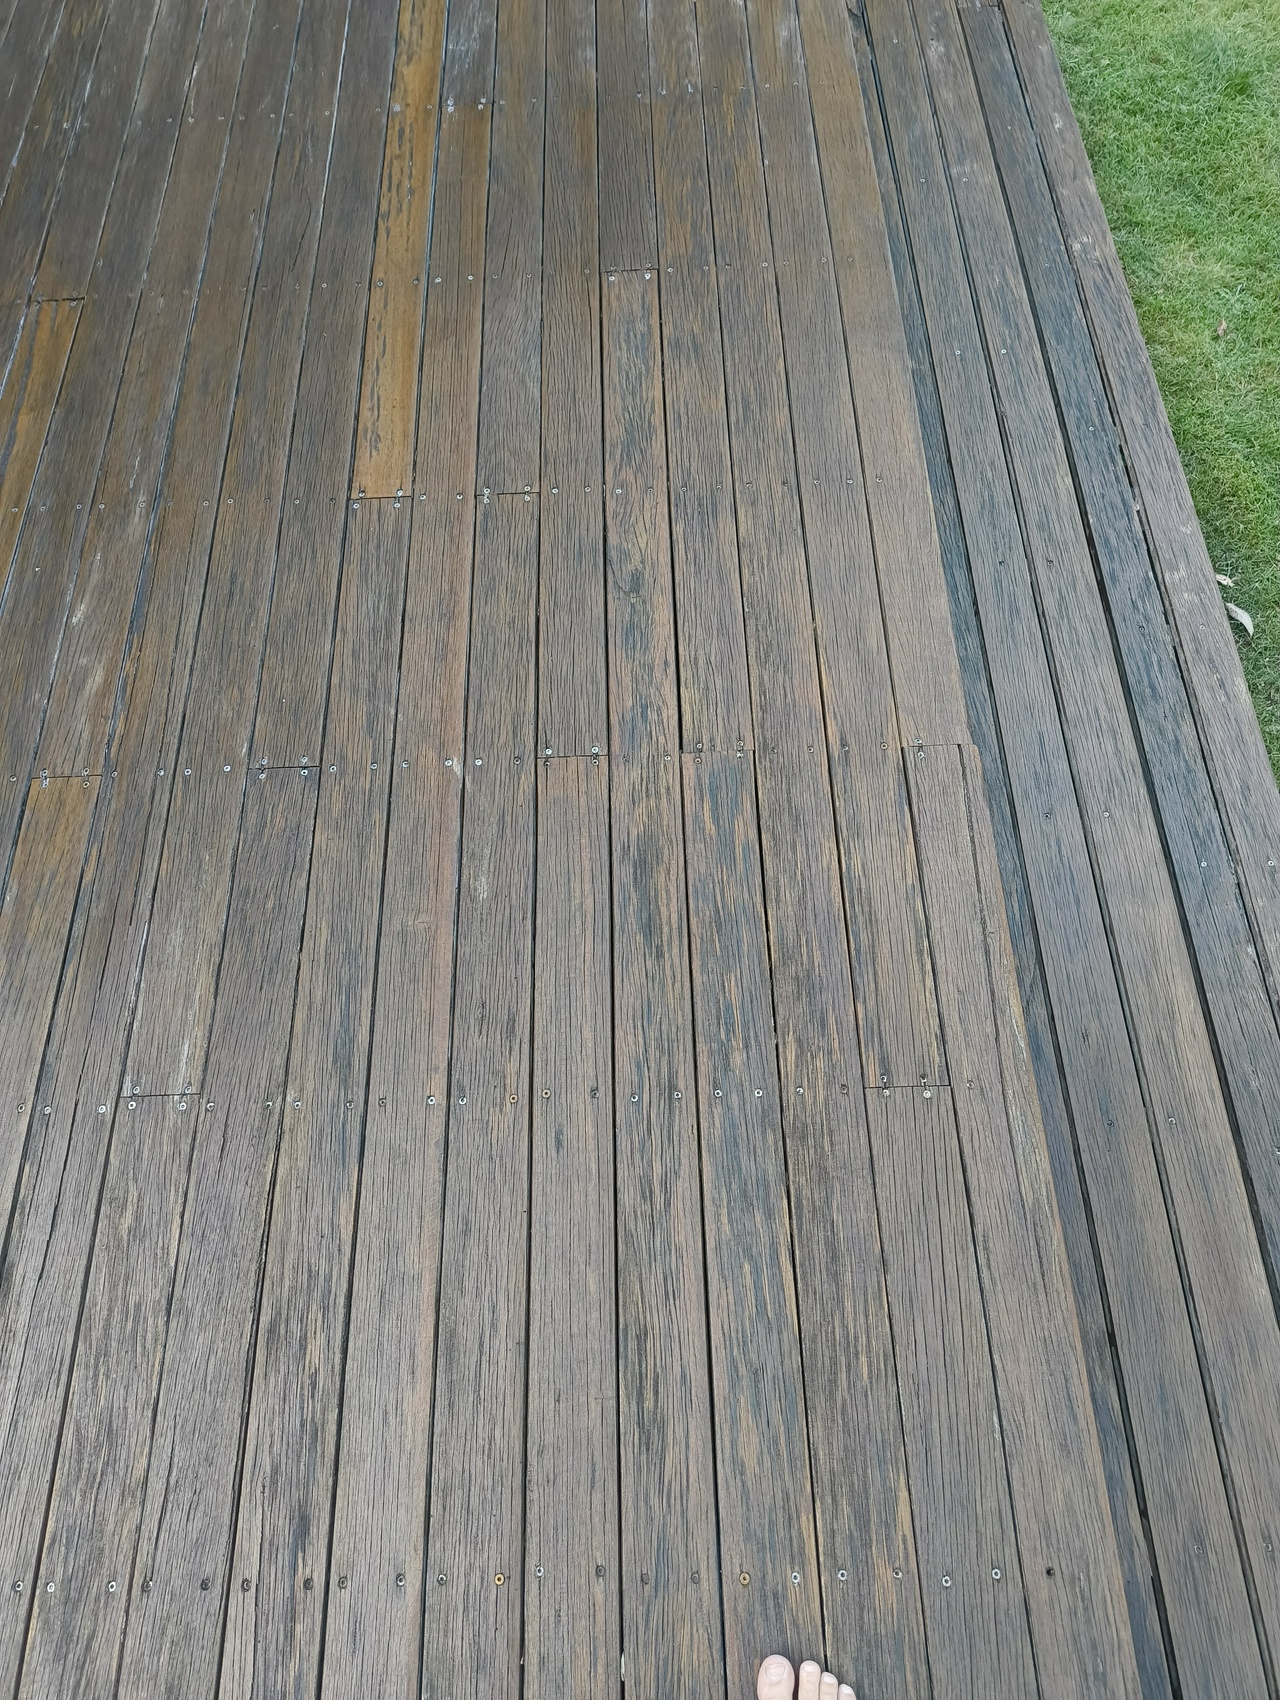
I think it turned out reasonably well and I'd rate myself a 7/10 for this year's efforts. In some ways I was a bit lazy & slightly rushed (I only did one coat on the wall panels) and I got a few patches of deck oil on surfaces I shouldn't have. In the first 'after' photo you can see some deck oil on the corner of the white wall – fortunately that's only on masking tape, not on the painted wall itself.
The deck is often exposed to the elements (no shade sail above it) so after the oiling, the weathered portions are really noticeable compared to the semi-shaded spots.
In the end I'm not a professional and I'd shudder to think how much I'd have to pay for a flawless finish.
I'm glad I learned how to do this, especially since I enjoy sitting out on our deck at most times of the year (even during winter). Maybe next year we'll take the next step and sand the deck panels back before oiling it so that it doesn't look so weathered...